Integrations: How do I use the Datto Networking plugin for ConnectWise Automate?
Question 
How do I use the Datto Networking plugin for ConnectWise Automate?
Environment
-
ConnectWise Automate
Answer
The Datto Networking plugin for ConnectWise Automate displays information about your network and its devices in your ConnectWise Automate v11+ integration.
Prerequisites 
- ConnectWise Automate v11 or higher
Installing the plugin
1. On the ConnectWise Automate Admin page, click Tools, then select Solution Center from the drop-down menu.
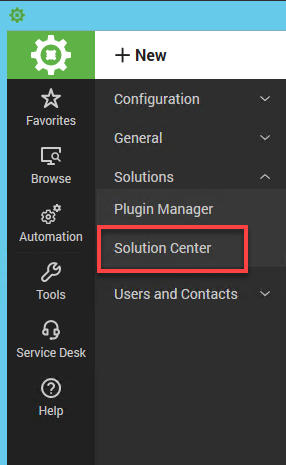
Figure 1: Solution center
2. Search for Datto in the Solution Center.
3. Click Datto Networking.
4. Click Queue/install.
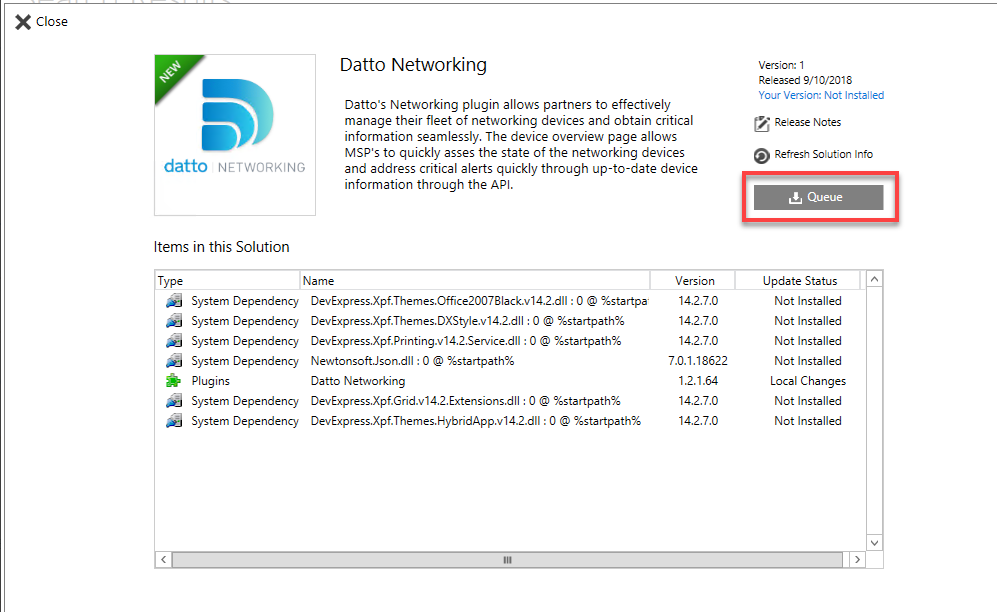
Figure 2: Networking Plugin installation screen
Upon installation, the plugin creates the following database tables in the Connectwise Automate primary database:
- plugin_dattonetworking_configuration
- plugin_dattonetworking_networkdevices
- plugin_dattonetworking_networkdevicesarchive
All checkboxes and enable/disable features are saved as Boolean values in the database (0 = unchecked/disabled, 1 = checked/enabled).
Configuration
1. Gather the Networking API key by logging into the Partner Portal, clicking on the Admin drop down, choose Integrations, and then click on the Networking Tab.
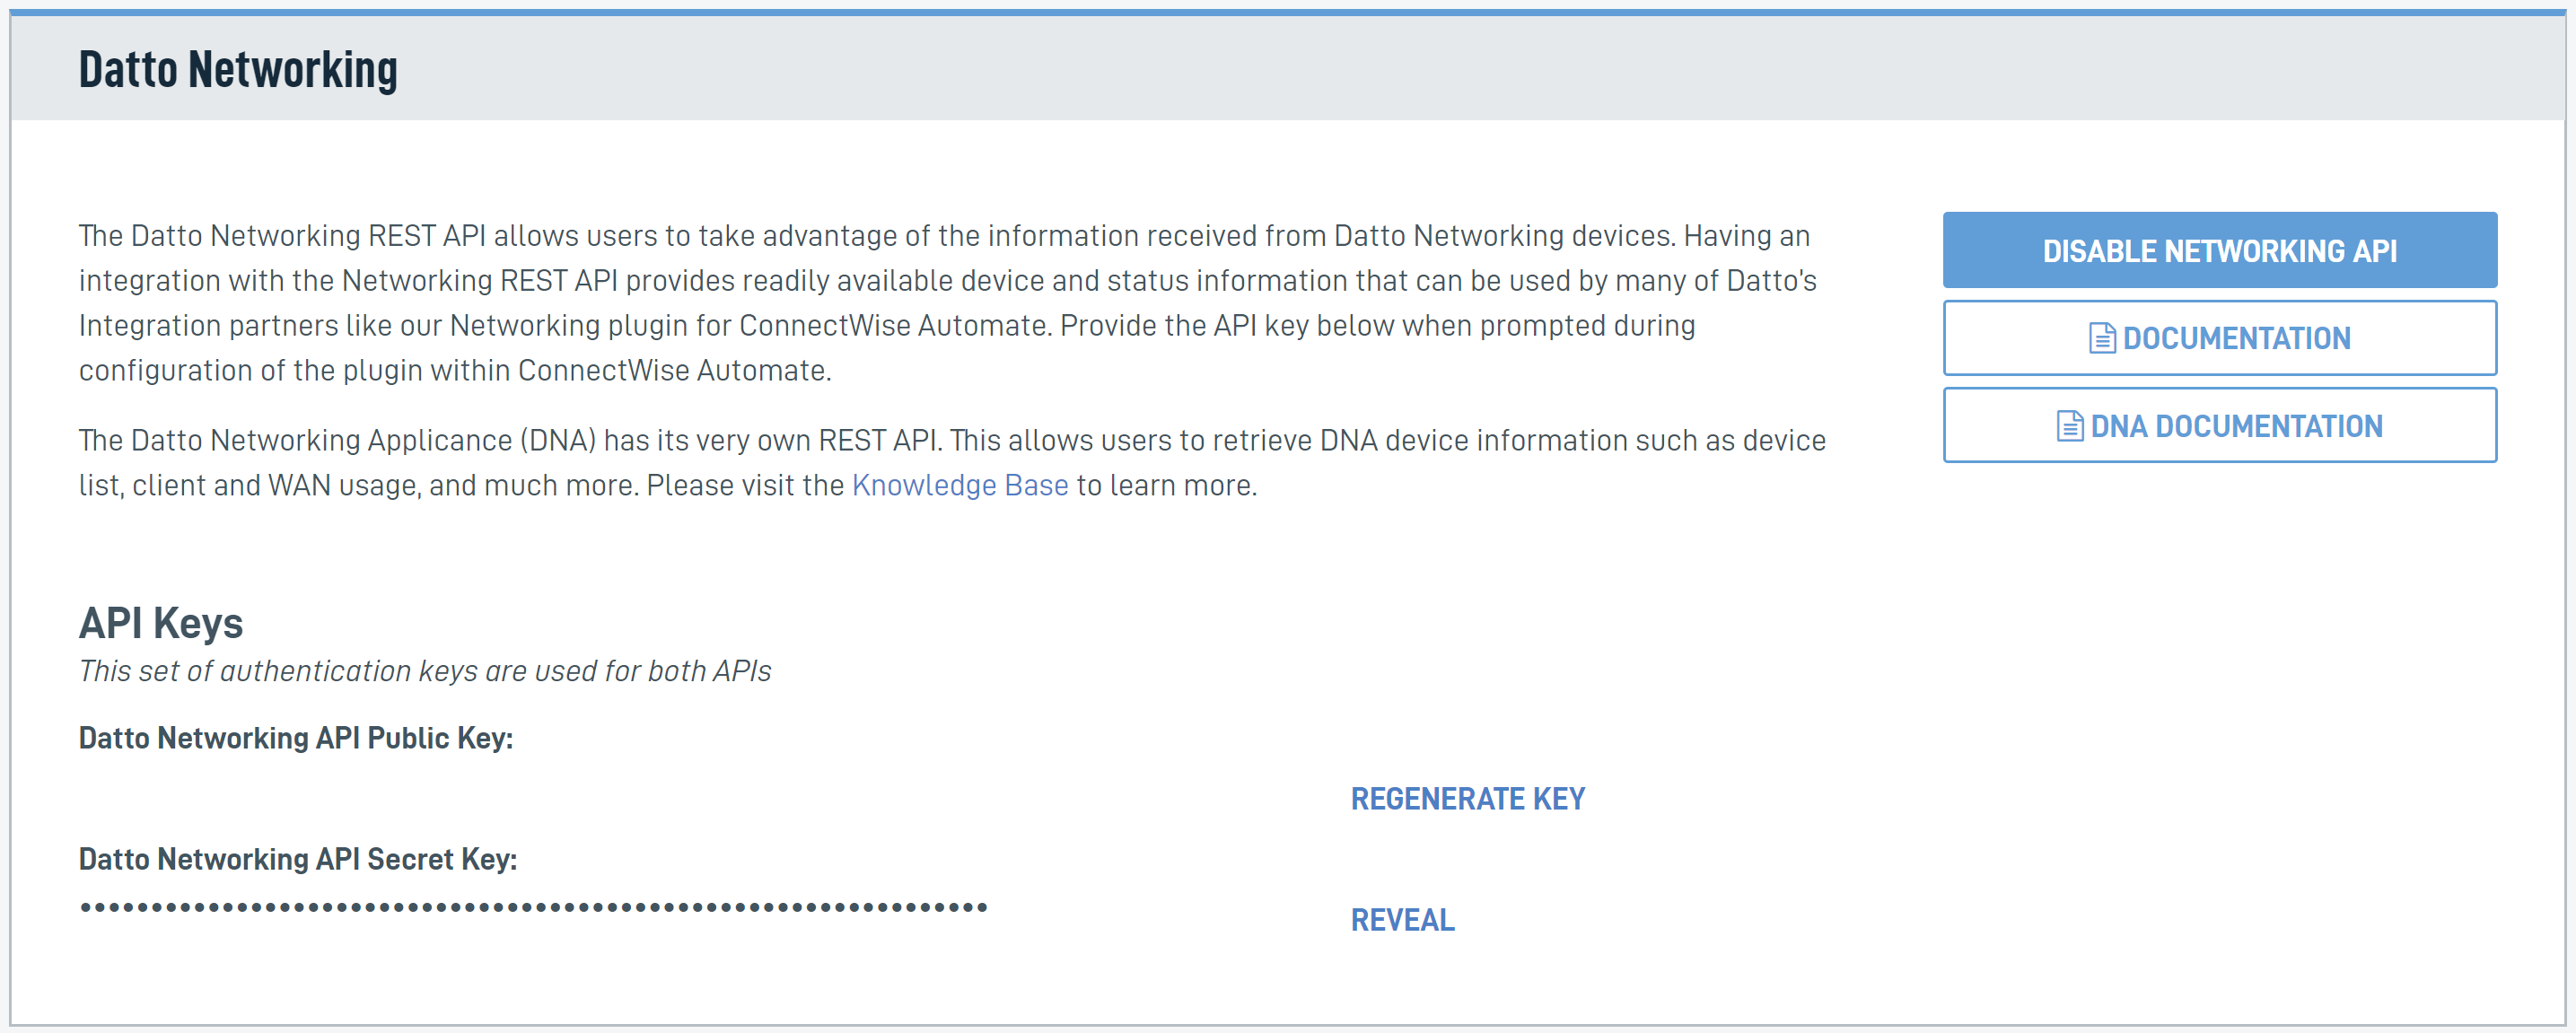
Figure 3: Networking
2. On the ConnectWise Automate Admin page, click Tools, then select Datto Networking from the drop-down menu.
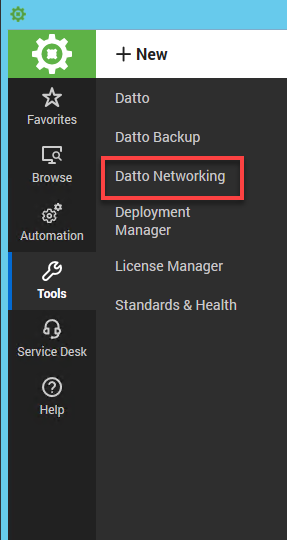
Figure 4: Plugin installation
3. Click Configuration.
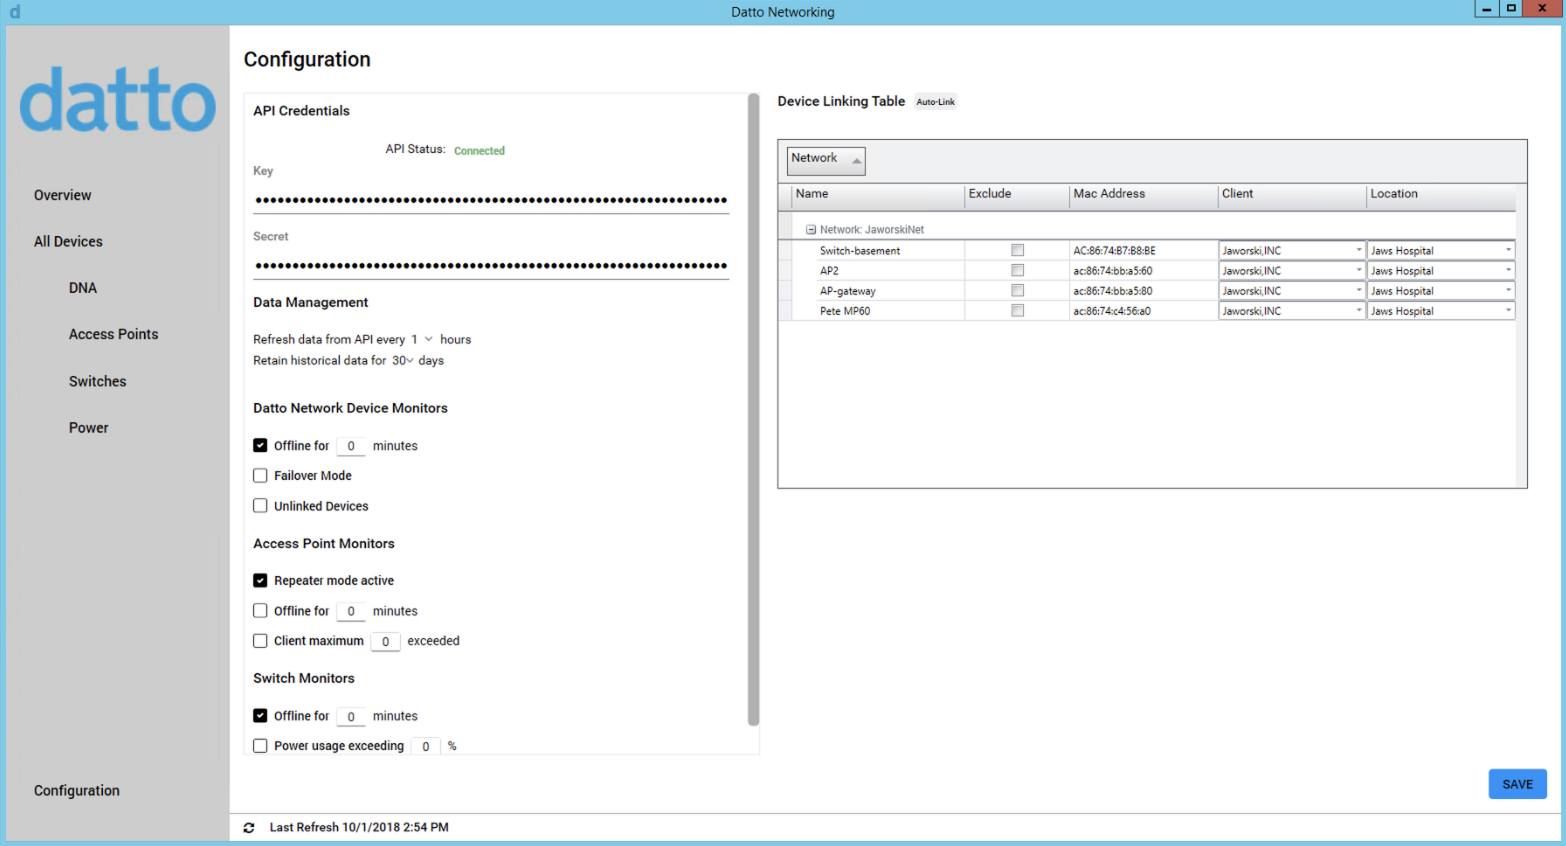
Figure 5: Datto Networking Plugin settings page
Customization settings
- Data Refresh/Retention controls how often the plugin data is refreshed from the API to the ConnectWise Automate server's database. This setting also controls how long device data is kept in an archived state in the database.
- Datto Network Device Monitors allows you to enable and disable each monitor and set additional thresholds where appropriate.
- Device Linking Table allows the linking of each device to a client and location within ConnectWise Automate. If devices are not showing correctly after linking, click the Refresh button next to Last Refresh, as shown in Figure 4.
- Auto-Link automatically links the device data from the API to a client/location if the network probe is configured at the location and collection is turned on. Click here for more information on Auto-Link.
Using the Datto Networking plugin
Launching the Datto Networking Plugin
1. On the ConnectWise Automate Admin page, click Tools.
2. Click Datto Networking.
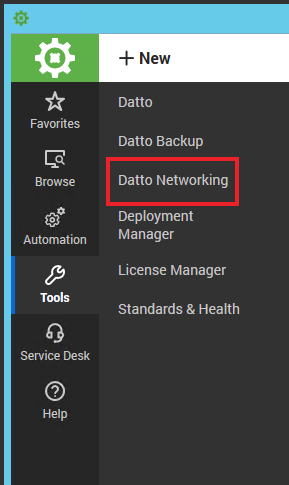
Figure 6: Launching the Datto Networking Plugin
The Overview page
The overview page displays information about the overall Datto Networking environment and displays essential data points required for quick problem diagnosis and efficient management.
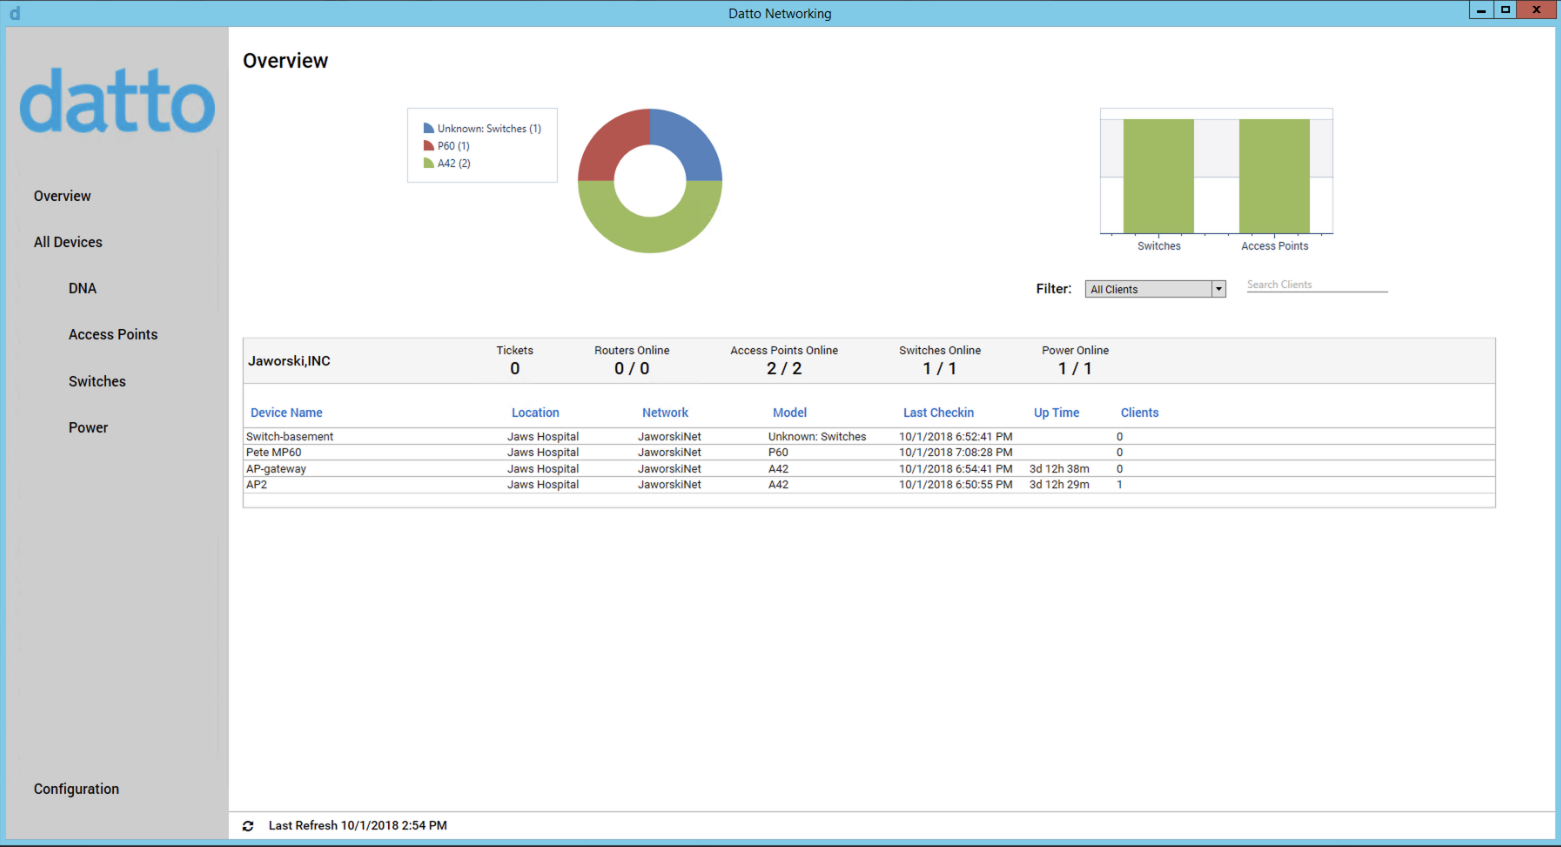
Figure 7: The Datto Networking plugin Overview page
- Device model spread, represented by the circular graph, summarizes the different device models linked to the plugin.
- Device connectivity status, represented by the bar graph, summarizes the connectivity status of each device. Red represents offline status, green represents online status.
- Filter lets you filter overview data for a specific client, using the drop-down menu.
- Refresh data from Datto will refresh the displayed data from the API.
The Devices page
The Devices page displays details for devices linked to the plugin and lets you drill down to individual device details.
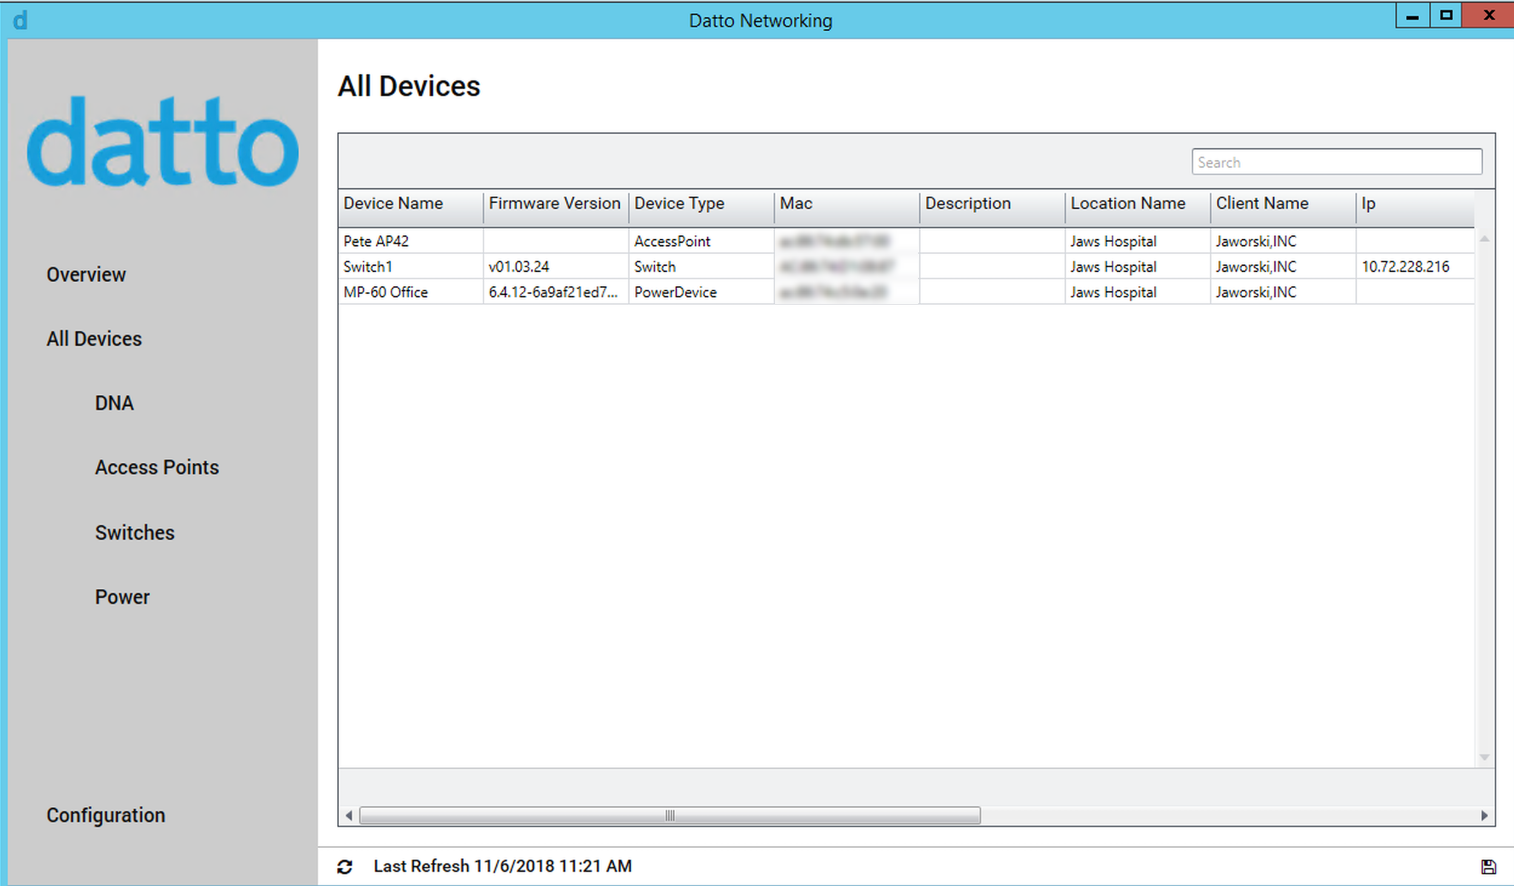
Figure 8: The Datto Networking plugin Devices page
- Drill Down displays all details obtained from the API about a specific device.

Figure 9: The Drill Down page
- The search box in the upper right corner is a live search using all device data.
- Export to CSV, represented by the floppy disk icon in the lower right-hand corner, lets you export the displayed data as a CSV file. If a search is filtering the displayed data, then only that data will be exported.
- Refresh data from Datto, in the lower left corner, refreshes the data from the API, and also refreshes the page.
Monitors
To display networking monitors:
1. On the ConnectWise Automate Admin page, click Automation, then select Monitors from the drop-down menu.
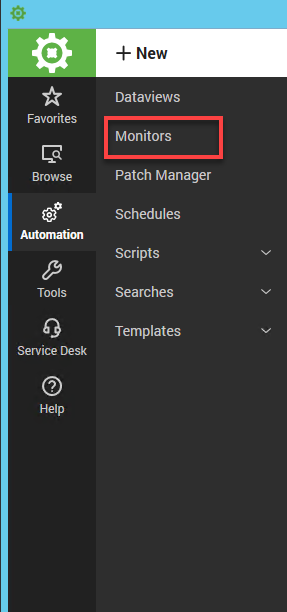
Figure 10: Selecting monitors
2. Click the Internal Monitors tab and select the Datto Networking filter. the following Datto Networking monitors will appear in the Monitor Name list:
- AP Connections Above Threshold
- AP Offline
- AP Role Changed
- DNA Device in Failover Mode
- Networking-DNA Device Offline
- Switch Offline
- Switch Power Utilization Above Threshold
To enable, disable, and set thresholds for the monitors, see the configuration section above.
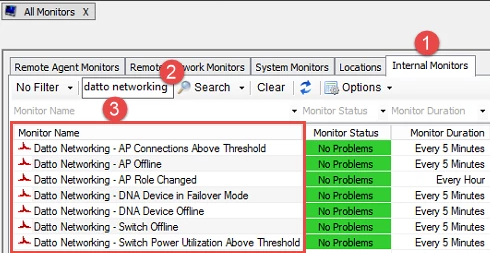
Figure 11: Datto Networking monitors.
Managed Power Administration
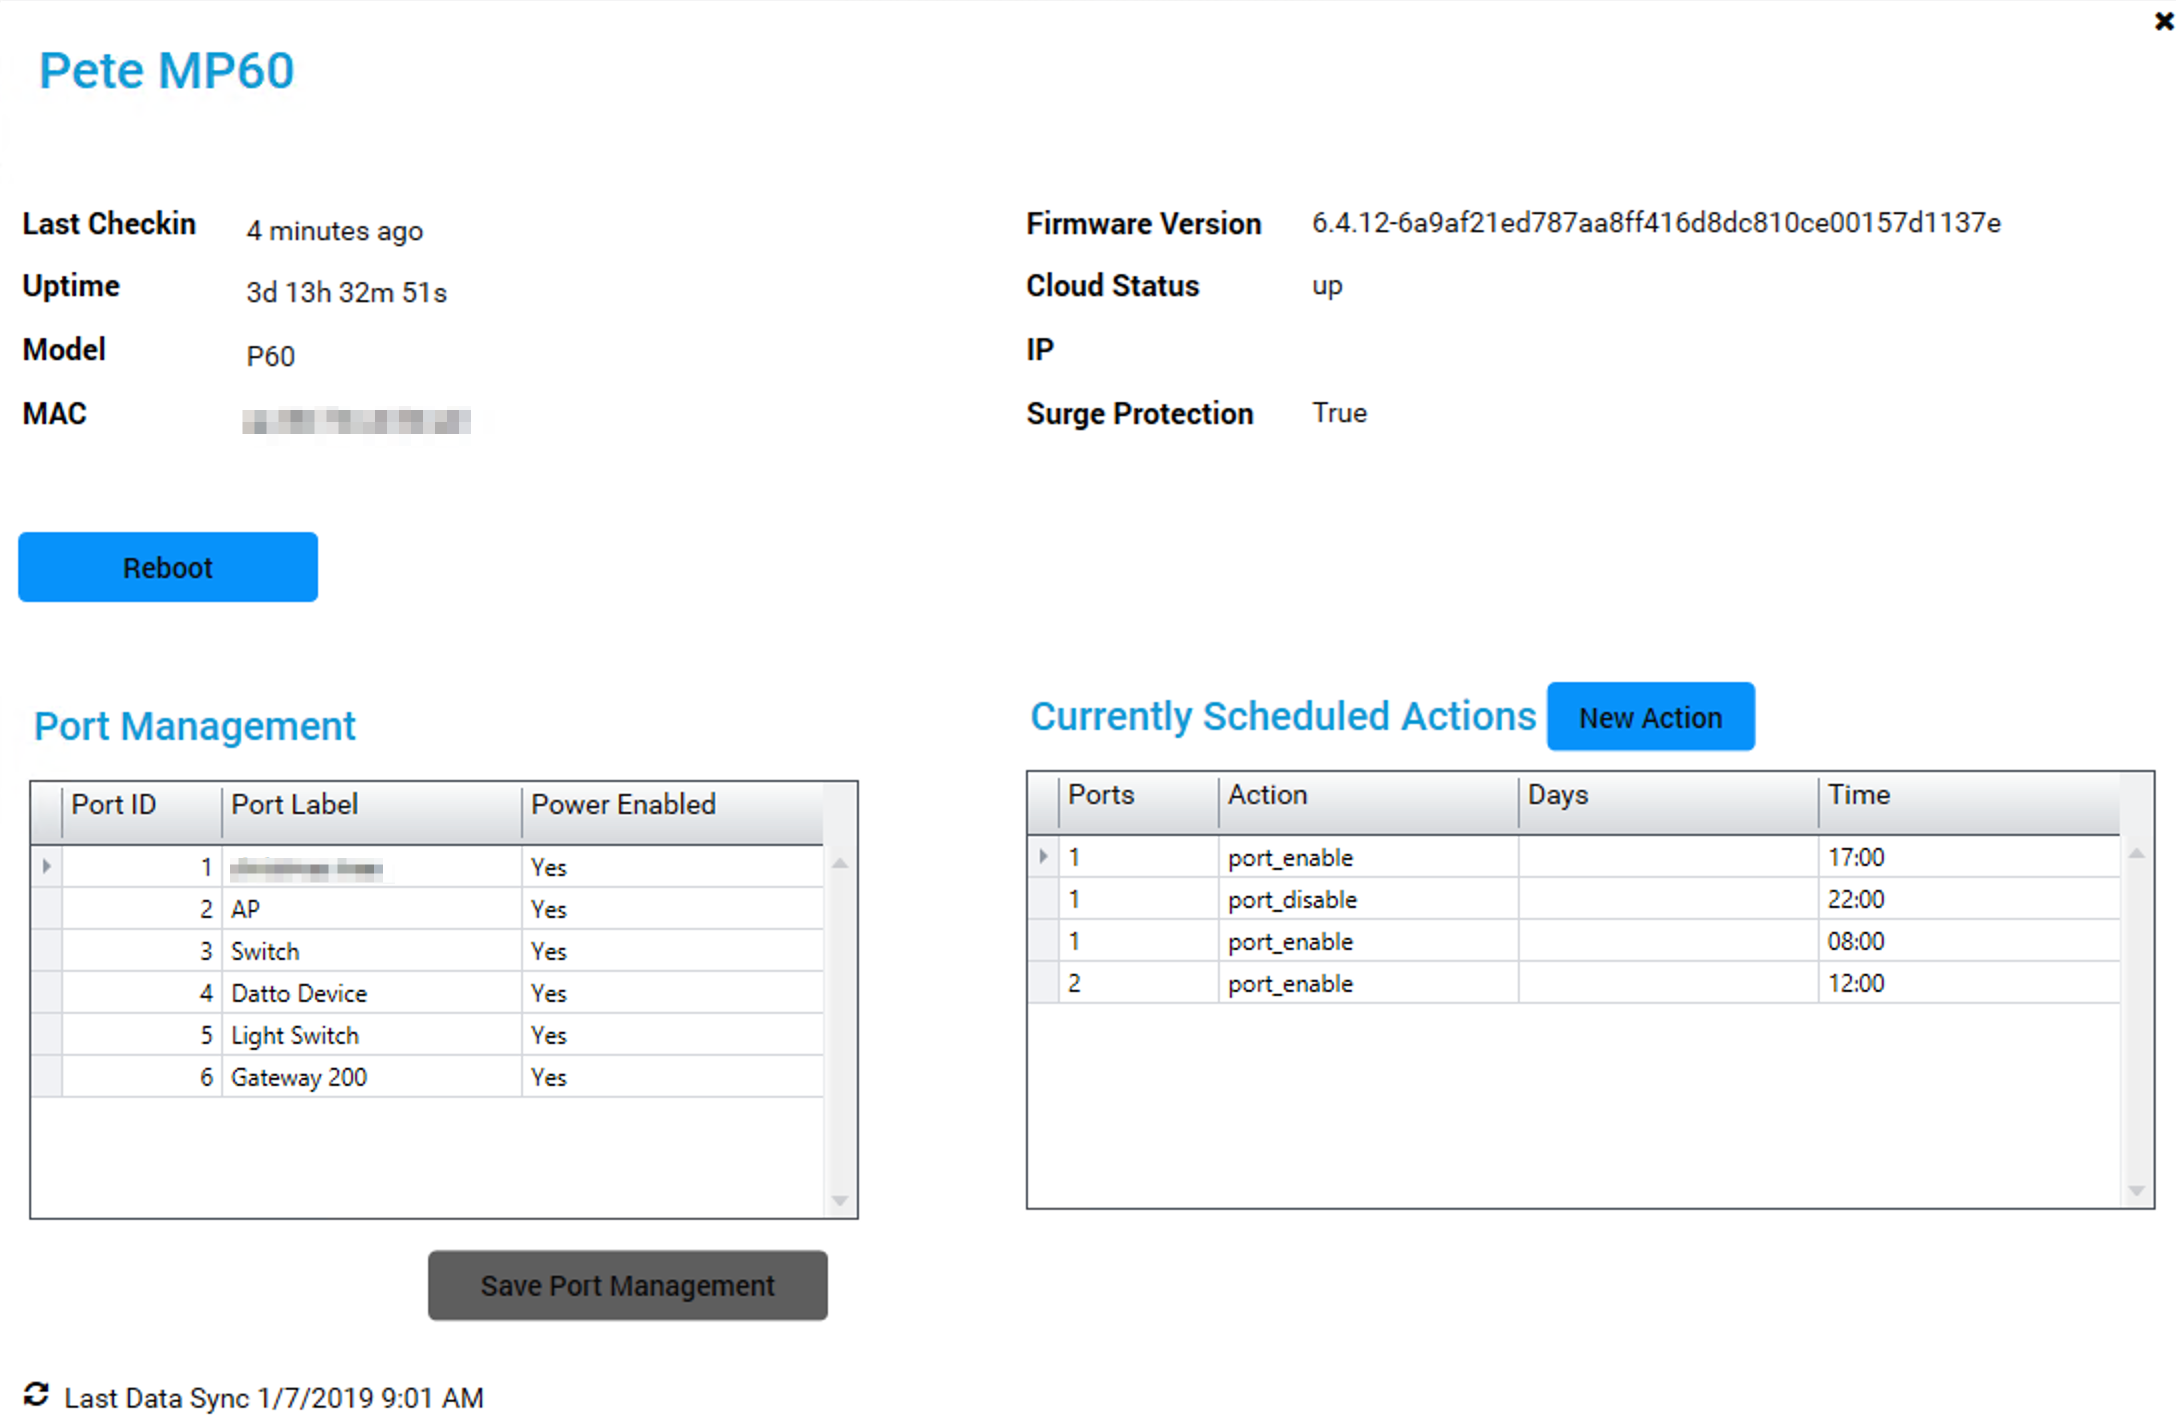
Figure 12: Datto Managed Power administration
You can administer your Datto Managed Power devices through the plugin and perform tasks such as scheduling actions or cycling a port. For more information, read our ConnectWise Automate Networking Plugin: Managed Power article.


